
Crow bars and Chop Saws: Creating Industrial-look Book Shelves from old Pallet Wood
- Hayley
- Oct 9, 2018
- 4 min read

While renovating our house we had lots of different things delivered on pallets: sand, tiles, gravel, etc. so it was inevitable we'd end up doing something with all that lovely wood! The study is somewhere my husband frequents a lot, so I wanted to do a slightly more 'industrial' decor in this room to suit all his model cars which he insists on displaying (well I suppose it is his house too!).
So what would go nicely in here were some industrial style book shelves and matching corner desk....but oh man were these expensive to buy! After all this window shopping we decided to give it a go ourselves and make use of those pallets all stacked up.
The design of these shelves is pretty simple: each shelf is made up of 3 planks of pallet wood which rest on L-shaped steel metal bars at the front back and sides - the Ls are all facing inward toward each other. These shelf frames are bolted to 4 long pieces of larger L-shaped metal bars in each corner. You can see in some of the detail of this in the close up photos
We began by prying apart the pallets using crowbars, claw hammers and mallets, and choosing the best bits of wood for the shelves; the pallets weren't all exactly the same so it was a bit of a jigsaw puzzle getting each of the 5 shelves to be the same width front to back.
All of this wooded needed a good sand and checking for any left over nails sticking out. Although I spent a long time with the mouse sander smoothing these planks out, we left the nail holes, major digs and scratches, burn marks, etc. which really give this wood character and the raw industrial look I was going for. I then gave these a few coats of clear wax to seal them and bring out their colour.

We used a chop saw (essentially a circular saw but it only cuts straight and cuts tough material like metal) to cut the lengths of metal for the 4 corners which we taped together and cut at the same time to make sure they were exactly the same length. We then needed 10 lengths of smaller L-shaped metal bars for the shelf supports that the front and back of each shelf, and 10 lengths much shorted to support the shelves at each side. It was also important to make sure that there were no sharp edges from the cuts, so each of the ends was gone over with the Dremel to smooth things down - such a useful little tool!

The whole frame is bolted together so we needed drill holes in at exact intervals along the larger L-shaped metal bars to set the height of each shelf, which we decided should be even. Then the shelf supports needed to be drilled at each end on the outside facing surface - not the downward facing surface (if that makes sense!) as they are bolted to the 4 main corners and overlap eachother at the corners. The metal was drilled using our bench drill so we could do a few at a time; we also created a jig (essentially a guide or template) so each one was drilled in the same place so it all actually fitted symmetrical together in the end!

The photo below illustrates how each of the L-shaped shelf supports is bolted to the main upright bars and overlap each other at the underside. This caused a slight issue in that the planks sit on the side supports flush but the front and back supports sit slightly lover than where the wood is resting. We remedied this by adding further metal flat bar the same thickness as the original L-shaped bar along the front and back supports - tucked inside the L basically. This probably wasn't necessary in hindsight as the wood is pretty strong and it's only a few mm gap but hey ho!

We used black crosshead bolts facing outwards to assemble the frame; it was pretty rickety without the wood inserts but sturdy enough to stand upright so I could spray the whole frame with matte black paint. Once dry we fitted the wooden planks into place on each shelf in situ. The shelves remained loose as such as they fitted snuggly enough into the frame not to move about.
To make sure that the wood sat flat on the metal supports we had to carve out some space for the bolts to sit in - you can see the heads of the bolts but obviously on the other side there are the nuts! I used the router to cut out some space in the underside of the wood for these, we didn't want to be able to see this from the topside, and then the plank slotted in nicely!
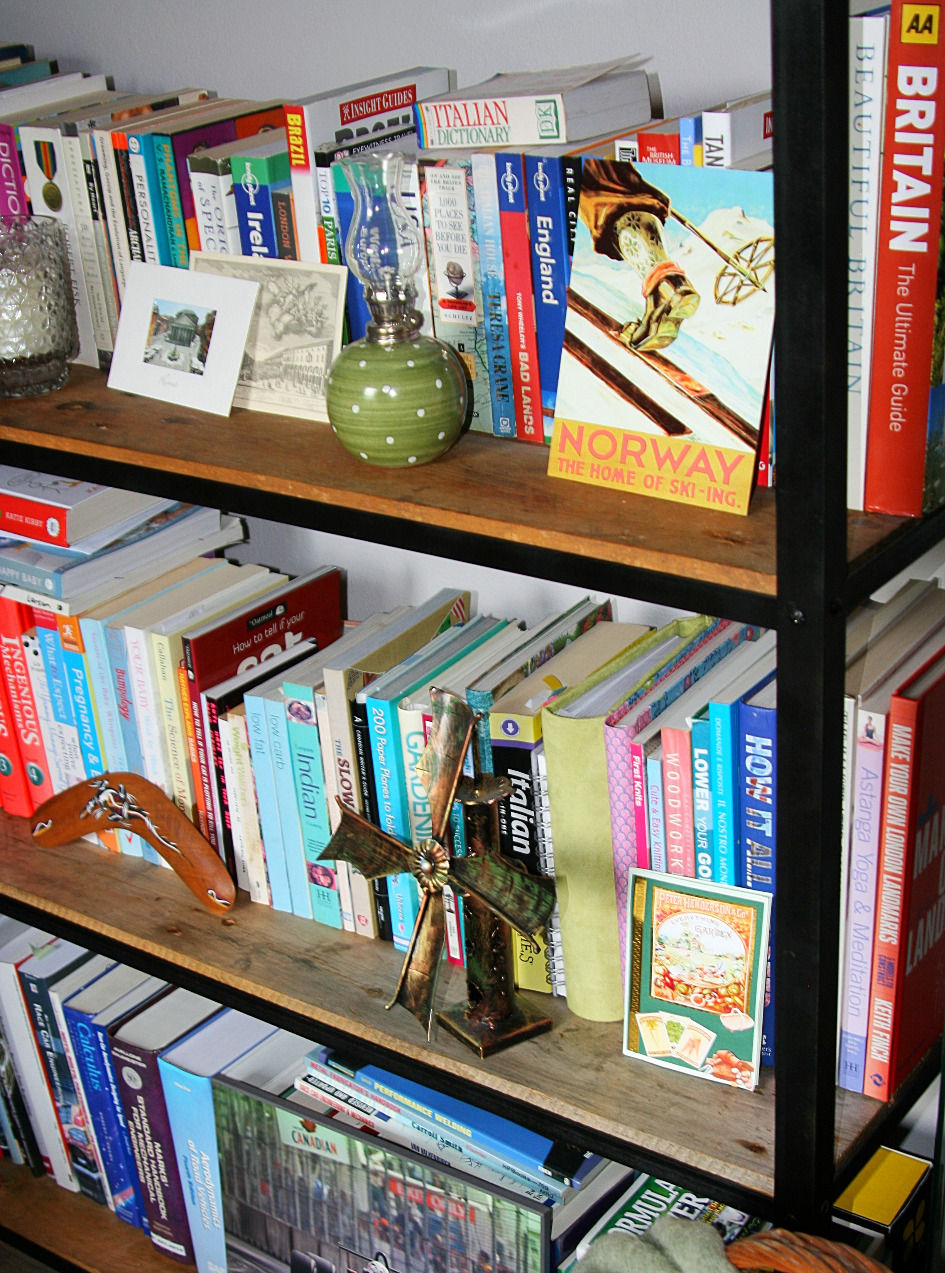
Filled with lots of our geeky books about engineering, anthropology and travel, and little nick nacks we've collected, it adds that messy book shelf look I love! I'm so glad we decided to build this ourselves as we got to decide the height, width and length to fit into our space between the display cases of cars. And we got to put all those pallets to good use :)
I've not talked about the desk here but essentially the concept was the same, and we've created ourselves a large usable workspace that looks great if I do say so myself!


Privacy Statement: We do not share personal information with third-parties nor do we store information we collect about your visit to this blog for use other than to analyze content performance through the use of cookies, which you can turn off at anytime by modifying your Internet browser's settings. We are not responsible for the republishing of the content found on this blog on other Web sites or media without our permission. This privacy policy is subject to change without notice.
Comments